A Step-by-Step Walkthrough
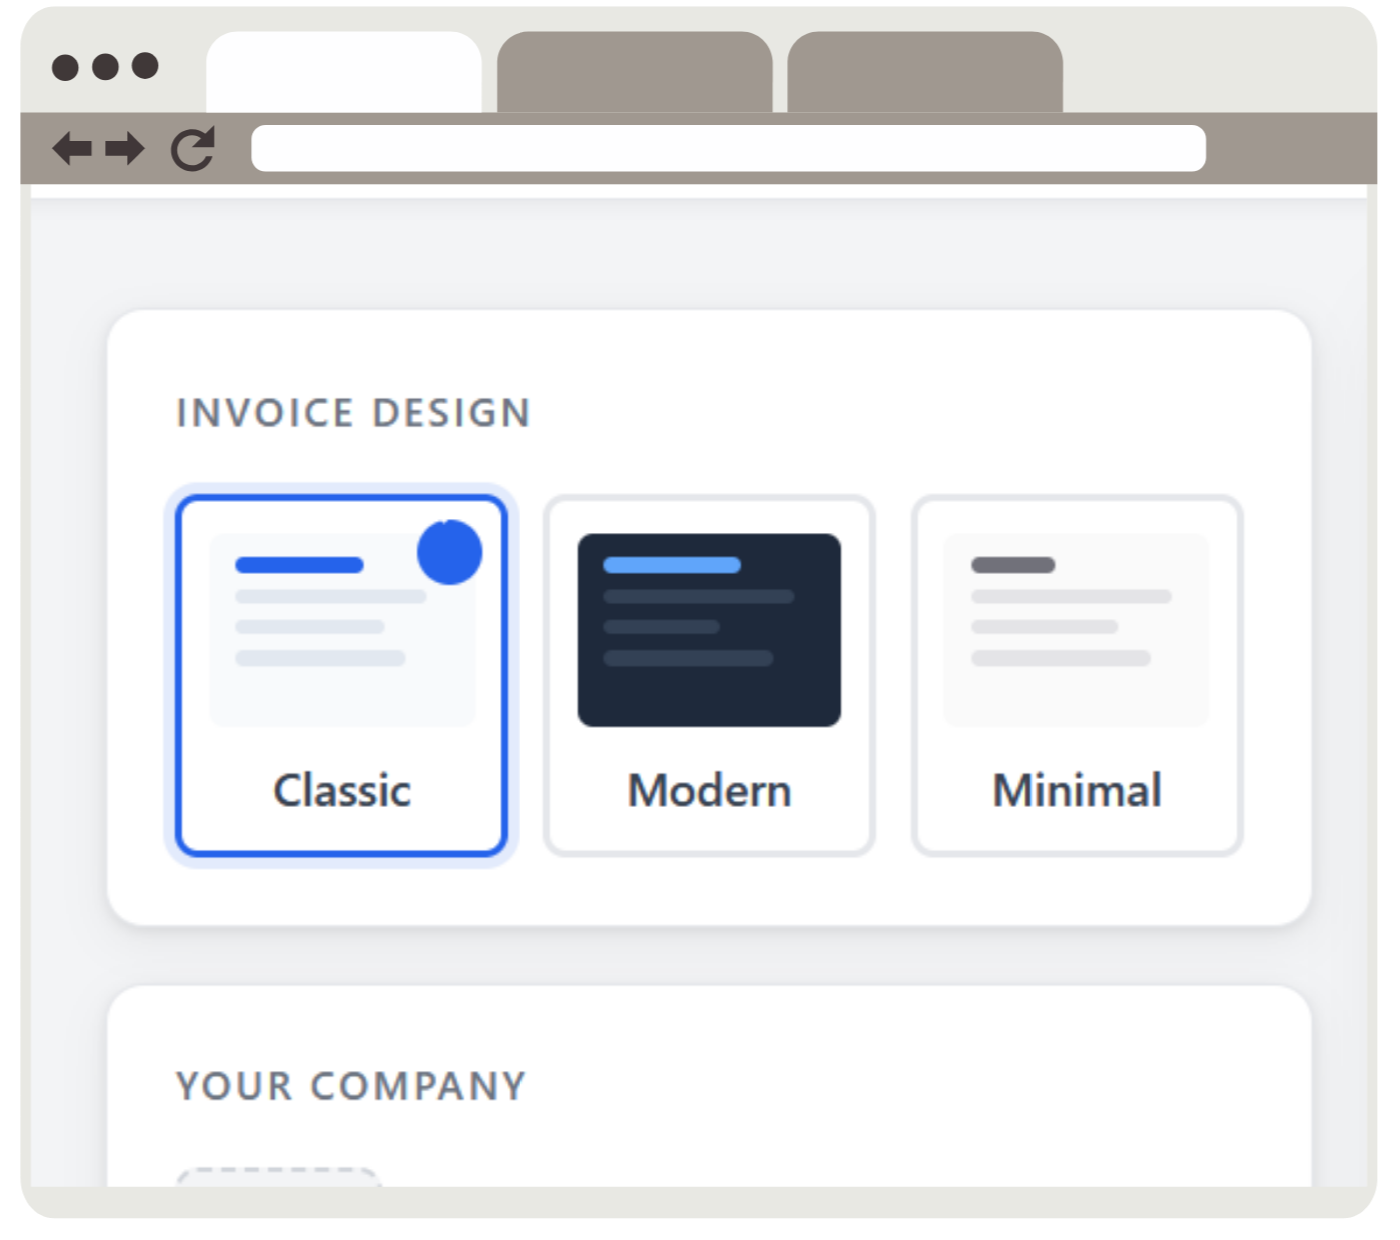
Start by selecting one of our professionally designed invoice templates. Classic gives you a clean blue-accented layout perfect for traditional businesses. Modern offers a bold dark theme for creative professionals. Minimal strips everything back to black and white for a timeless look. You can switch between templates at any time and the live preview updates instantly so you always know exactly what your PDF will look like before you download it.
Click the logo upload area and select your company logo. PNG, JPG, SVG, and WebP formats are all supported. Your logo is uploaded securely, added to the invoice preview immediately, and included in the final PDF. Maximum file size is 2MB.
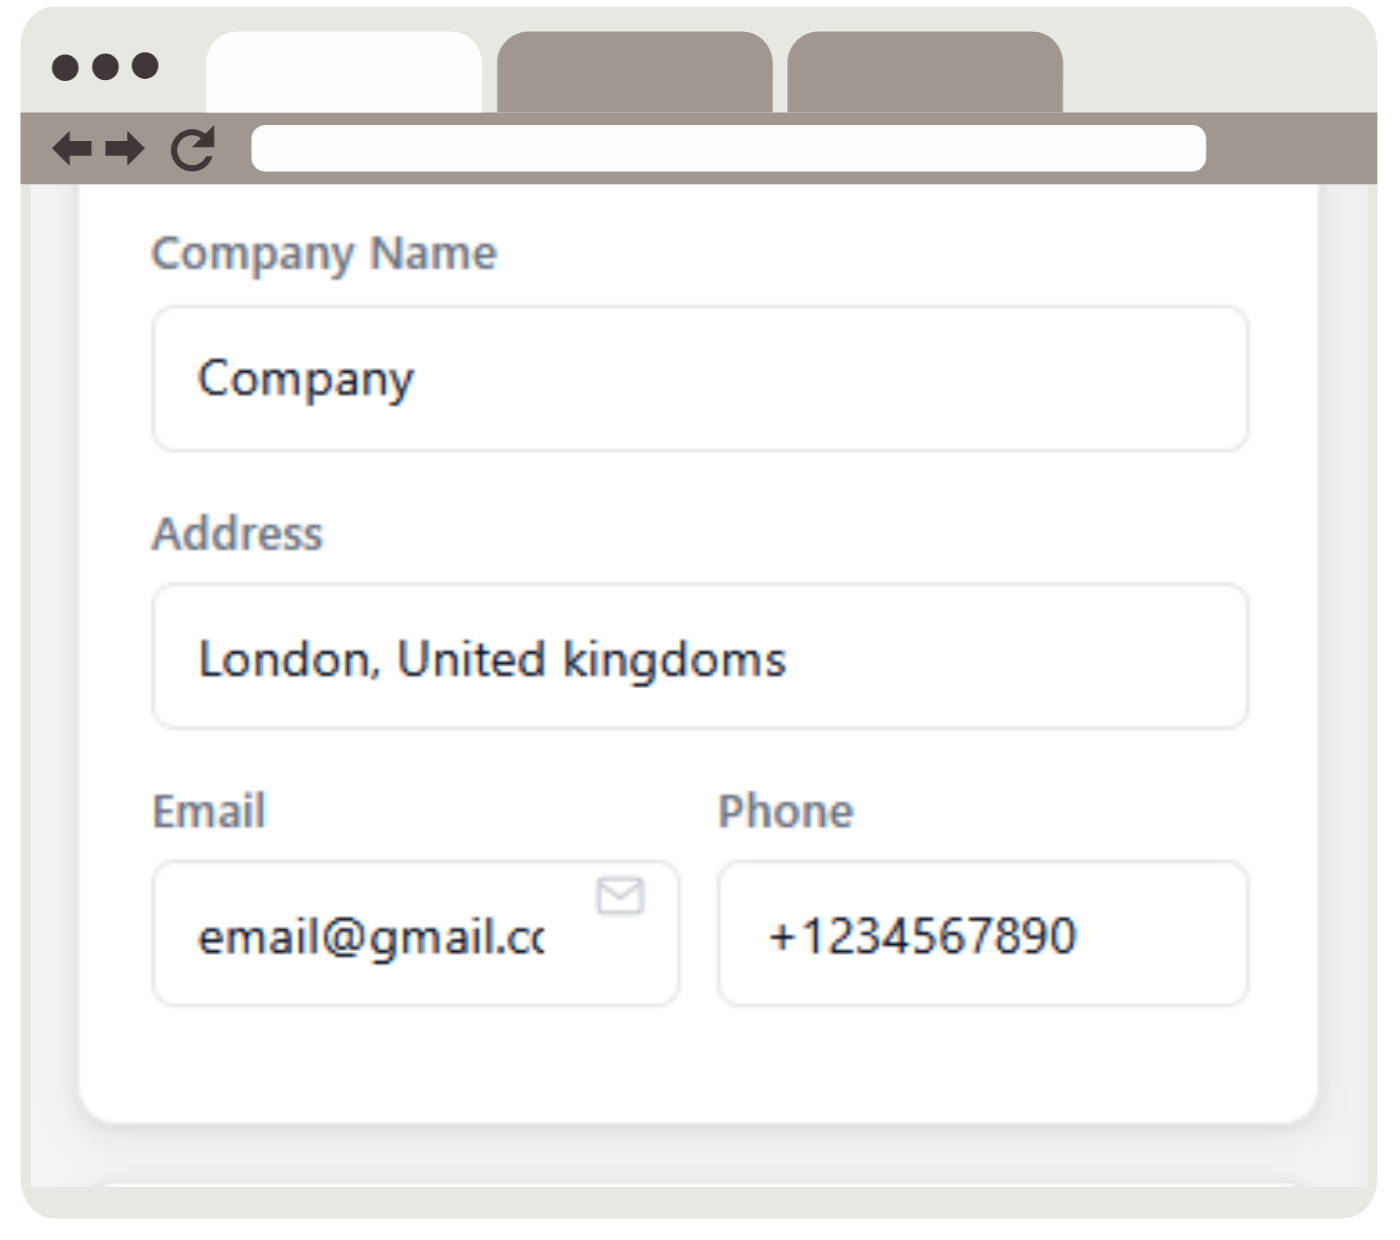
Add your company name, address, email, and phone number. These appear in the top-left of your invoice and update in the live preview as you type.
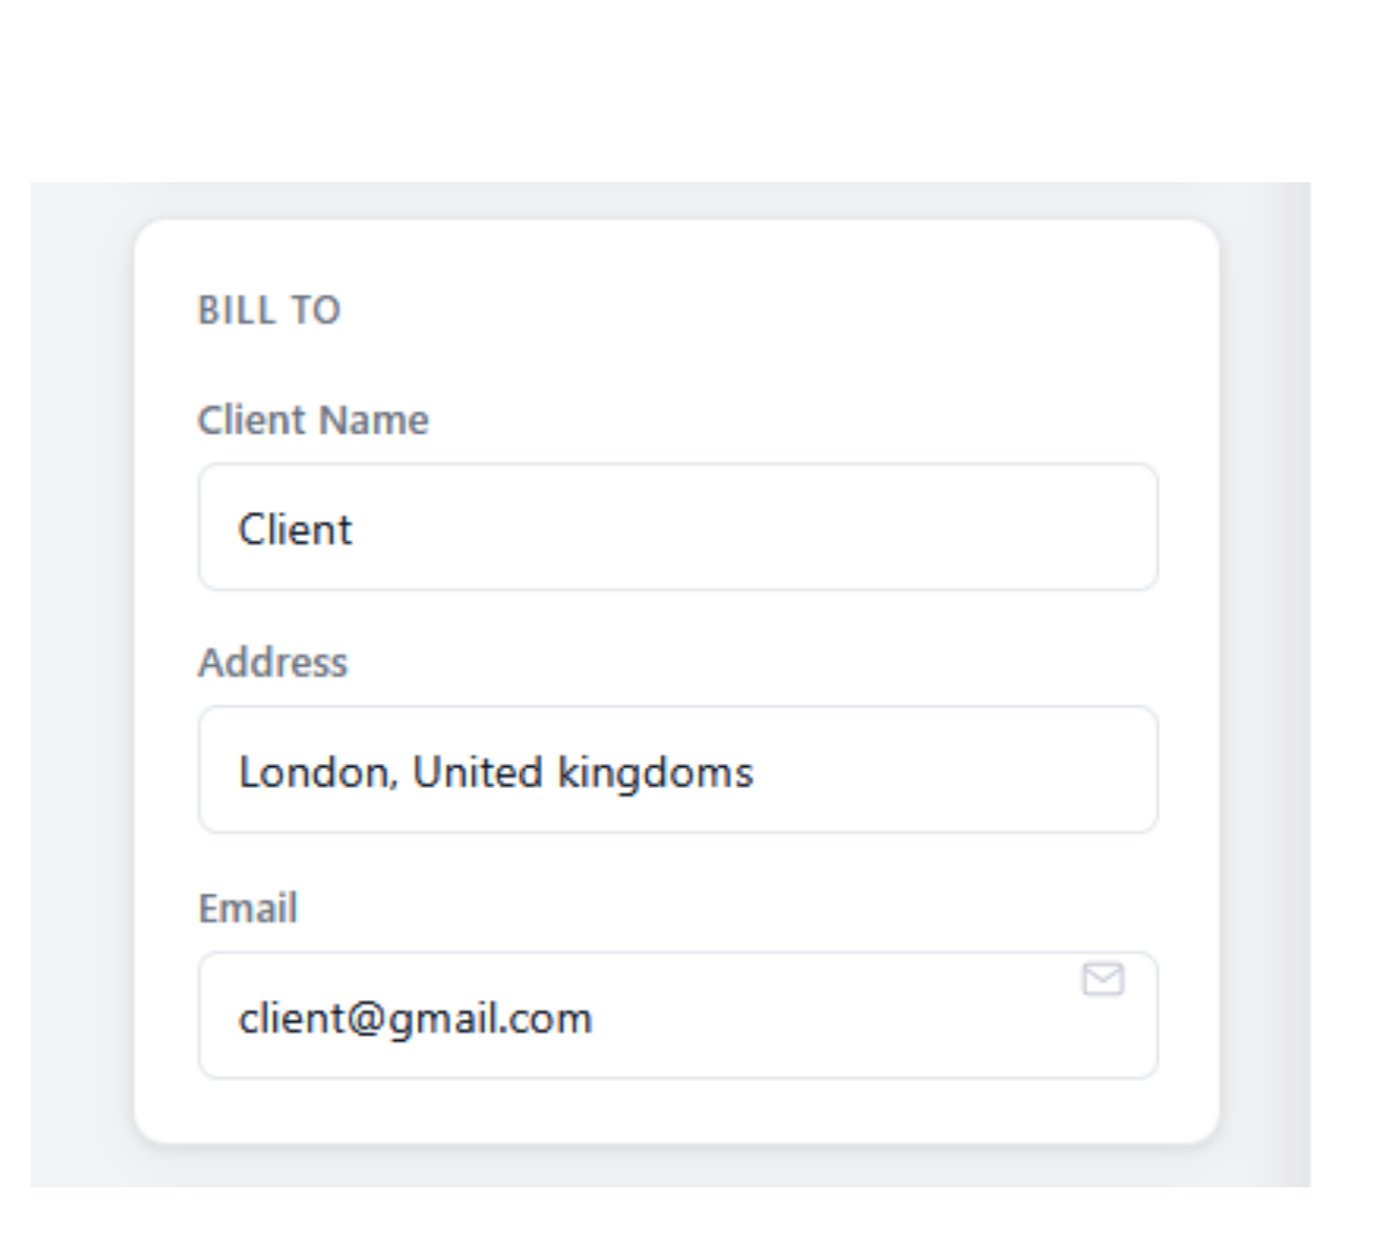
Fill in your client's name, address, and email. This populates the "Bill To" section of your invoice.
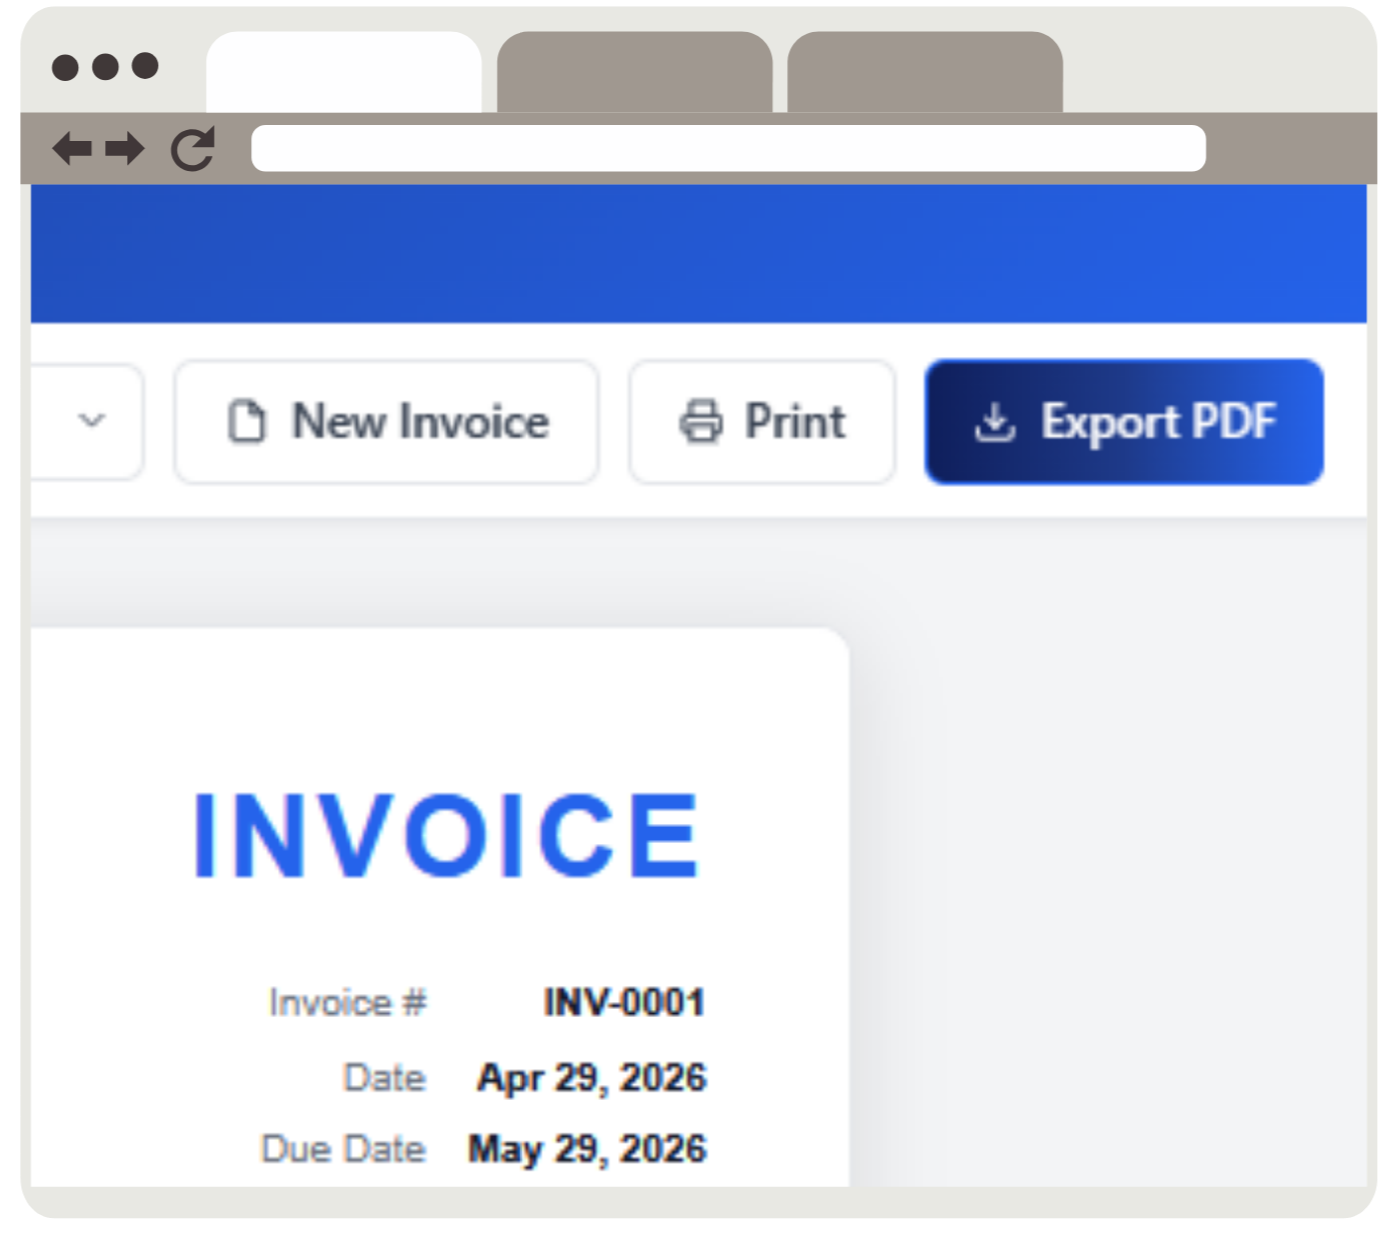
Give your invoice a number (e.g. INV-0001), set the invoice date and due date, and add payment terms like "Net 30" or "Due on Receipt". You can also change the invoice title — it defaults to INVOICE but you can set it to anything, such as QUOTE, RECEIPT, or PROFORMA.
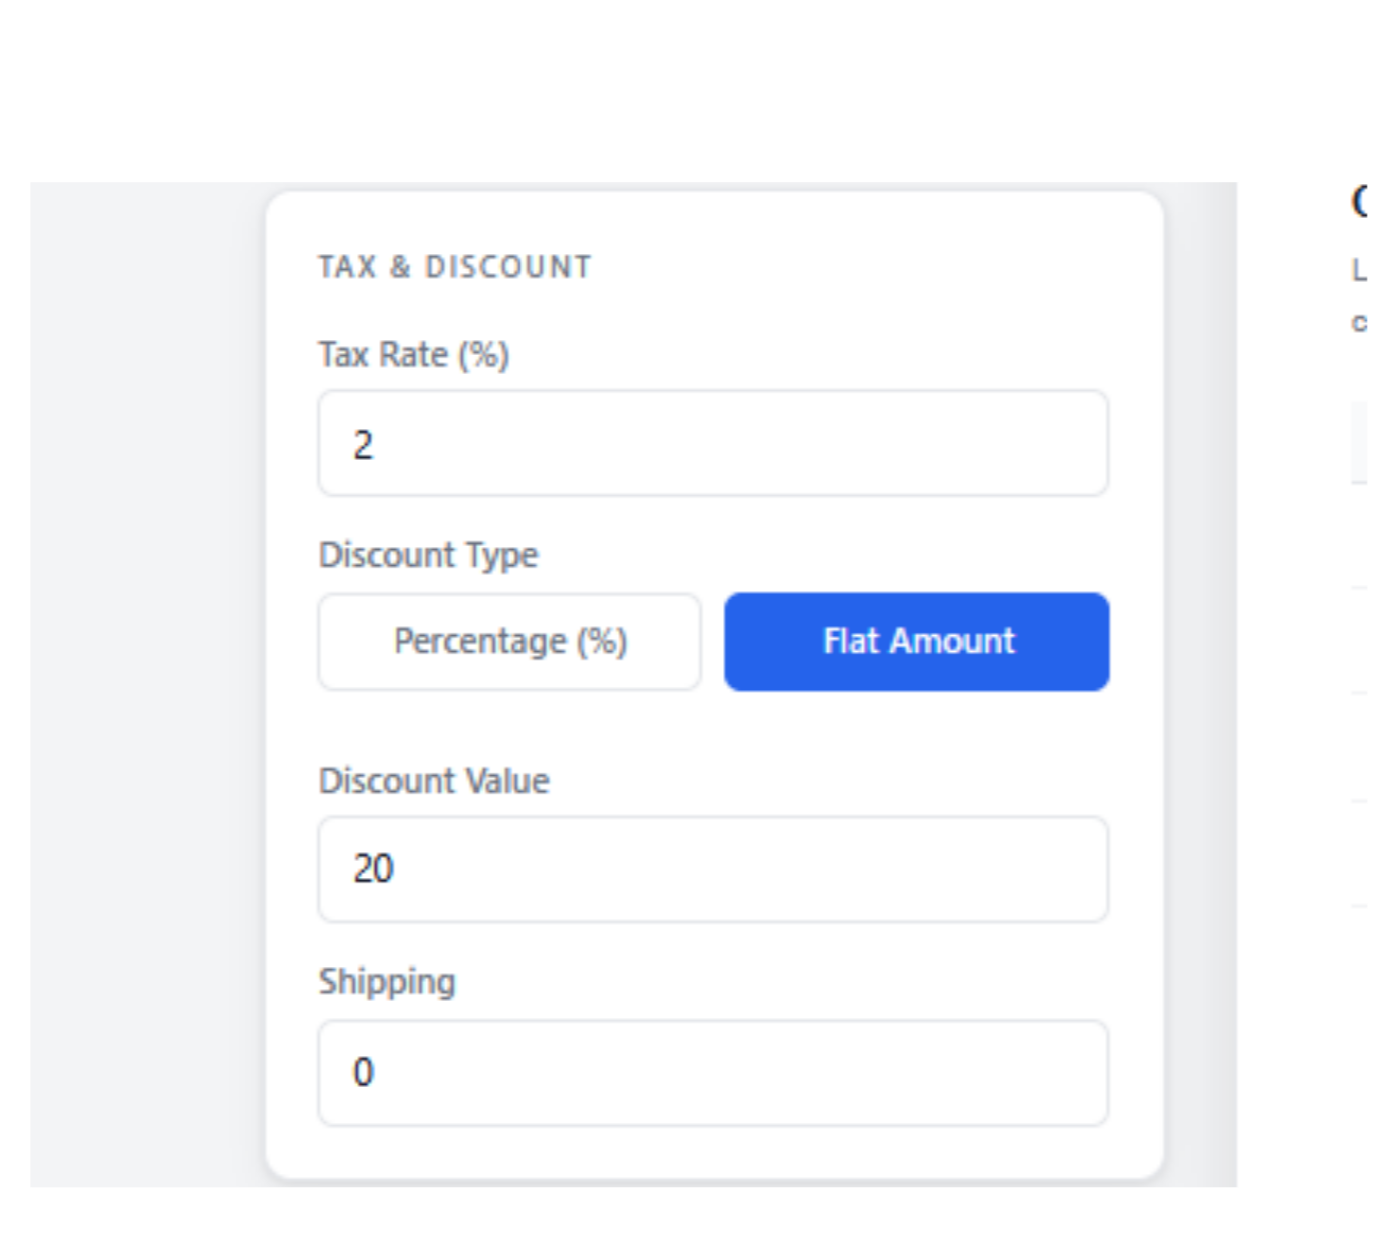
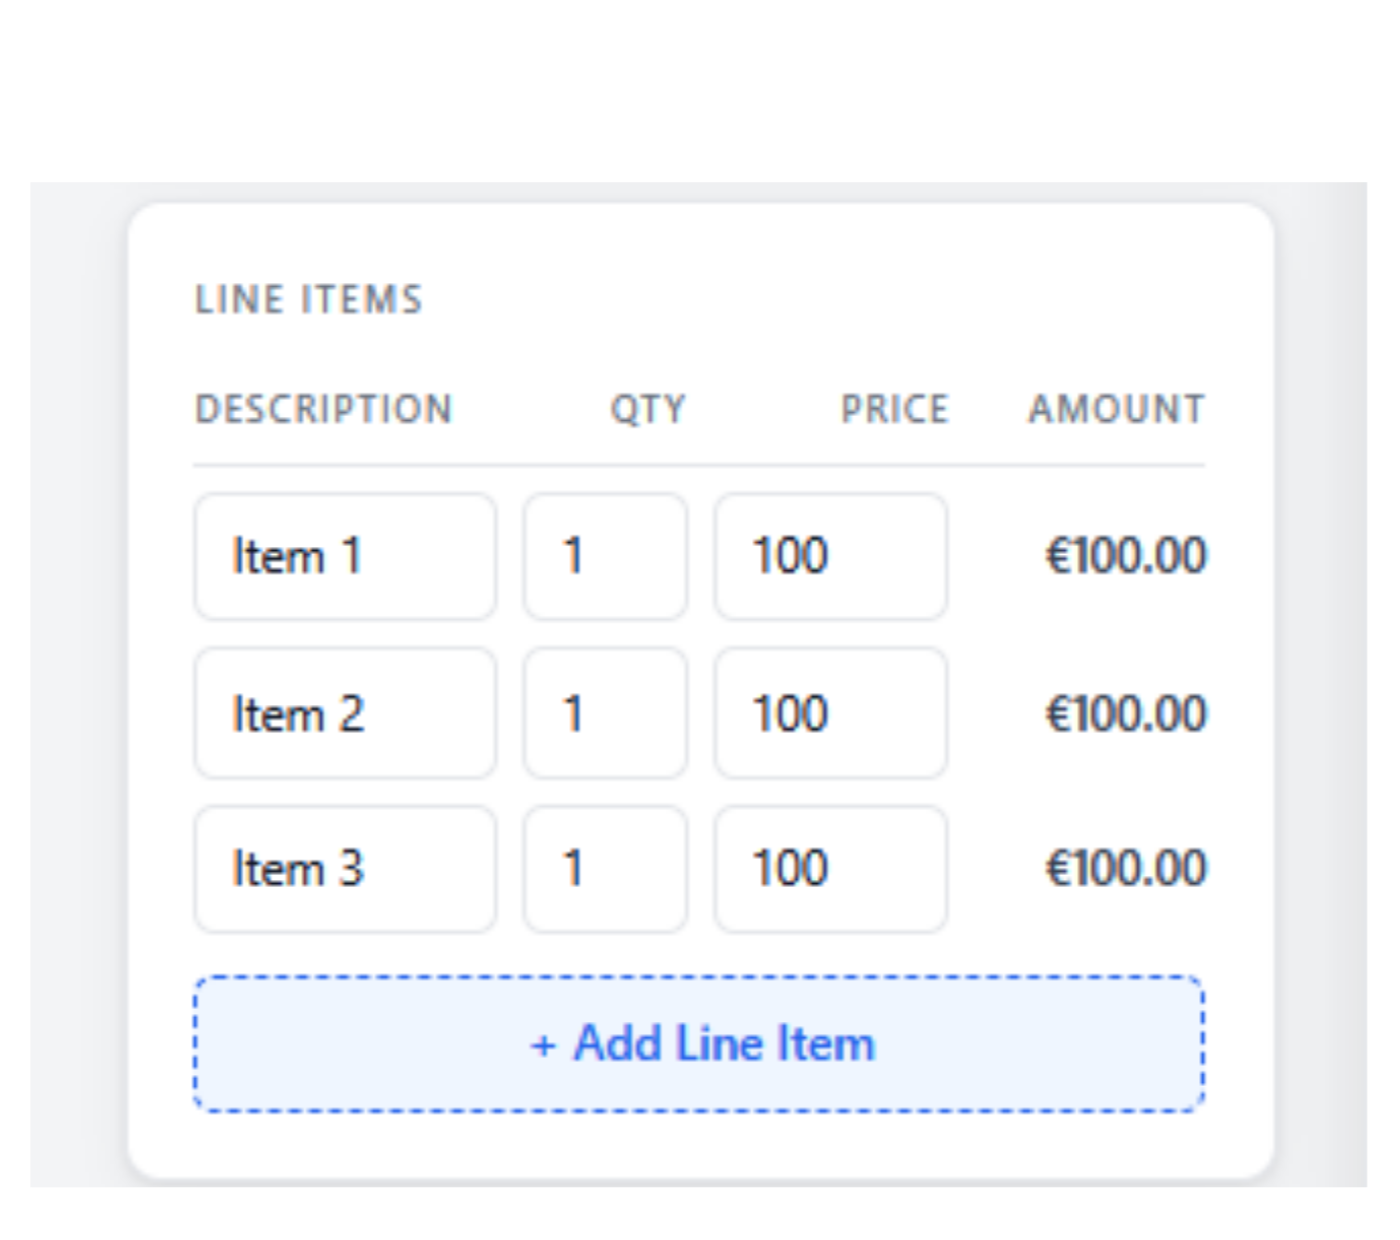
Add as many line items as you need. Each row has a description, quantity, and unit price. The line total and overall subtotal calculate automatically as you type. Click "+ Add Line Item" to add more rows.
Click the logo upload area and select your company logo. PNG, JPG, SVG, and WebP formats are all supported. Your logo is uploaded securely, added to the invoice preview immediately, and included in the final PDF. Maximum file size is 2MB.
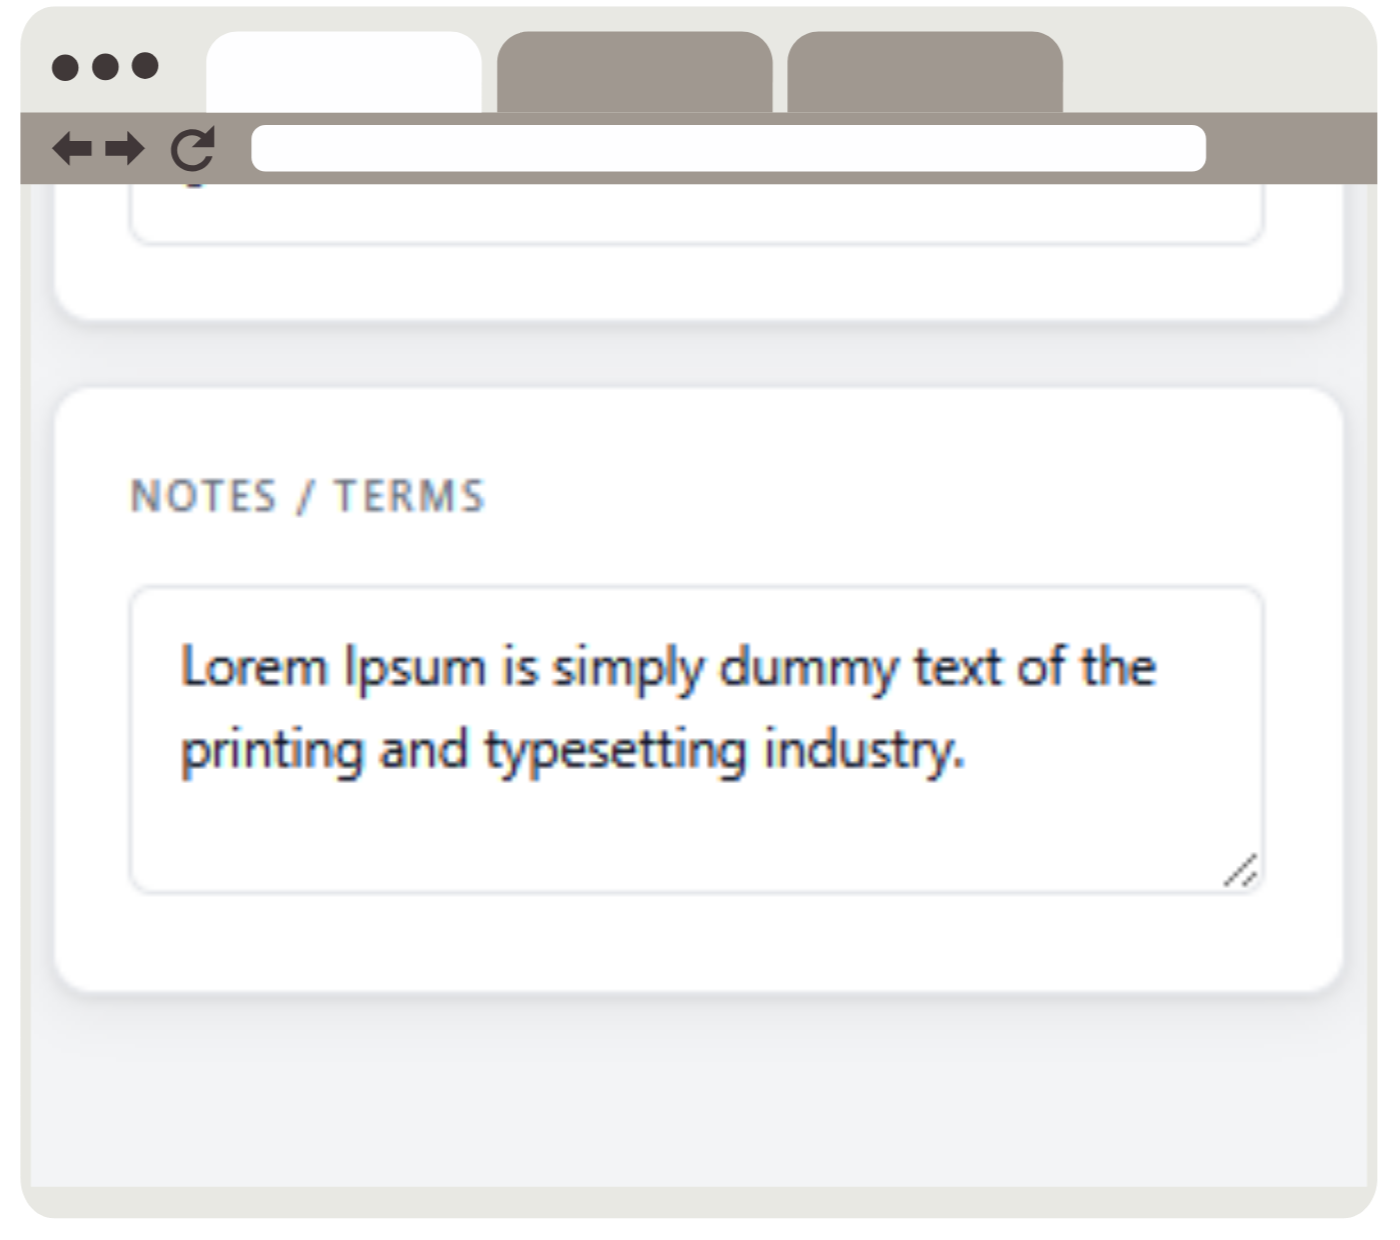
Use the Notes / Terms field to add payment instructions, bank details, thank-you messages, or any other information your client needs. This appears at the bottom of the invoice.
Click the Export PDF button in the top navigation bar. Your invoice is generated instantly and downloads as a high-quality, print-ready PDF. No account required. No watermarks. No limits.